# Steeking: How to Cut Your Knitting Without Fear
There is a moment in every steeker's life when you sit there holding a finished sweater body in one hand and a pair of scissors in the other, and every instinct you have screams *don't*. You have spent weeks on this. Rows and rows of careful stranded colorwork, and now someone (possibly a pattern, possibly your own past self) wants you to cut straight through the middle of it.
Take a breath. Steeking is one of the oldest tricks in the knitting book, and once you understand why it works, it stops feeling like sabotage and starts feeling like a shortcut.
What Steeking Actually Is
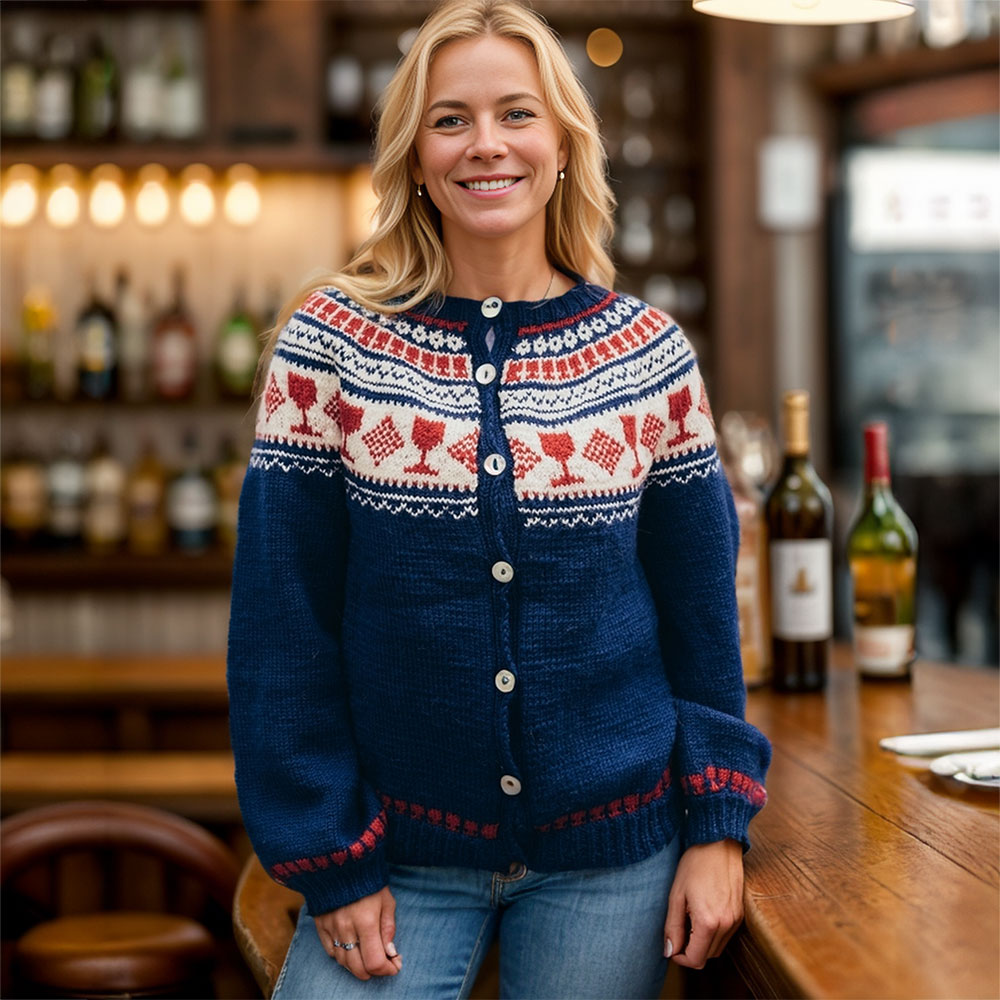
A steek is a narrow bridge of extra stitches, usually somewhere between six and ten of them, that you knit into a project purely so it can be cut open later. You'll typically see steeks used for the front opening of a cardigan, for armholes, or for a neckline — anywhere a garment eventually needs a gap that would otherwise force you to stop knitting in the round and start working back and forth.
That "otherwise" is the whole point. Many knitters are faster, more even, and more accurate at stranded colorwork when they can knit every single round from the right side, without ever turning the work to purl back. Steeking lets you knit an entire cardigan as if it were a plain pullover tube: no shaping interruptions, no purling your Fair Isle pattern in reverse, no losing your place in a complicated chart halfway through a row. You knit the whole thing continuously, extra stitches and all, and only at the very end do you go back and decide where the fabric needs to open up.
The technique has deep roots in Shetland knitting tradition, where Fair Isle sweaters were knit in the round for exactly this efficiency, then cut open for their armholes and cardigan fronts. The word itself comes from the Scots for "stitch" — a fitting name for a technique that is, underneath the drama, really about stitches doing their job.
Why Cutting Doesn't Unravel Your Sweater
The fear is reasonable: knitted fabric is one continuous strand of yarn, so surely a single snip should send the whole thing sliding apart. In practice, two things are working in your favor.
First, a knit stitch only wants to unravel in one direction — straight up or down its own column — not sideways across the fabric. When you cut down the center of a steek, you are severing stitches within that column, but the columns on either side of your cut stay completely intact, held together by every stitch above and below.
Second, and more importantly, you are never cutting unprotected fabric. Before scissors ever touch the knitting, you reinforce the steek stitches so that each cut stitch is locked in place and physically cannot travel anywhere. The cutting is the easy, almost anticlimactic part. The reinforcement is where the real security comes from — so that's where to put your care.
How to Reinforce a Steek Before You Cut
There are a few reliable ways to lock down your steek stitches, and none of them require special equipment beyond what's already in a knitting bag.
Crochet Reinforcement
This is the most traditional hand-worked method and a great choice for your first steek. Using a crochet hook a couple of sizes smaller than your knitting needles, work a line of slip stitches or single crochet down through the legs of the stitches on one side of your cutting line, then repeat on the other side. Keep your tension snug but not tight enough to pucker the fabric. You're essentially building two firm little fences, one on each side of where the scissors will go, so that every stitch has something anchoring it in place before it gets cut.
Sewing Machine Reinforcement
If you have access to a sewing machine, a line of straight or narrow zigzag stitching along each side of the cutting line does the same job as the crochet method, just faster and with a machine's consistent tension. This is a popular choice for slippery or less grippy yarns, since machine stitching creates a very secure, uniform hold that hand tension can't always match.
Hand-Stitched Reinforcement
You can also backstitch along both sides of the steek by hand using sewing thread or embroidery floss, catching the legs of the stitches in a small, even zigzag pattern as you go. It takes a little longer than crochet or machine sewing, but it's portable, requires no special tools, and gives you fine control — useful on a delicate or textured fabric where you want to place every stitch precisely.
Whichever method you choose, always mark your intended cutting line first (a strand of contrasting waste yarn woven up the center column works well), and reinforce on both sides of that line before you pick up the scissors. Many experienced steekers also recommend practicing the whole sequence — reinforcing and cutting — on your gauge swatch first. It costs you nothing but a swatch, and it turns "I hope this works" into "I've already done this once."
Choosing Yarn That Steeks Well
Not every yarn is an equally good candidate, and this is the detail that trips up a lot of nervous first-timers who chose their yarn for color rather than fiber content.
Traditional, non-superwash wool is the gold standard. Wool fibers have a natural scale structure that grips against neighboring fibers, so the strands cling to each other slightly even before you add any reinforcement. Shetland wool, the yarn most associated with steeking, is prized precisely because it's a little rough and a little sticky — qualities that would be a drawback in a soft baby blanket are exactly what you want here.
Superwash wool, cotton, silk, and other smooth or treated fibers behave differently. Superwash processing strips away the scales that give untreated wool its grip, and the resulting yarn is noticeably slicker in hand. That doesn't make steeking off the table for these fibers, but it does mean you should lean harder on your reinforcement — a sewing machine line rather than a looser crochet chain, for instance — since the yarn itself isn't going to help hold things together the way grippier wool does.
If you're genuinely unsure how your yarn will behave, knit a small swatch, reinforce it exactly as you plan to reinforce your project, and cut it. That five-minute test will tell you far more than any general rule about "wool" as a category, because spinning, ply, and finish all affect how sticky or slick a given skein really is.
Making the Cut
Once your reinforcement is in place on both sides of the marked line, the cutting itself is refreshingly simple. Use sharp, small embroidery or craft scissors — not your everyday fabric shears — and cut slowly and straight down the center column, one stitch at a time if that helps you stay steady. You're cutting between your two lines of reinforcement, not through them.
Afterward, you'll have two cut edges with short yarn tails poking out. On a wool sweater these can simply be tacked down out of sight with a whipstitch, tucked behind a button band, or covered by a facing, depending on your pattern. Resist the urge to trim the tails too short — leave enough of a seam allowance that the reinforced edge has room to be tacked flat.
You've Got This
Steeking rewards preparation, not bravery. If you mark your line clearly, reinforce firmly on both sides, and choose (or test) a yarn with reasonable grip, the actual cutting is the least dramatic part of the whole process. Most knitters who steek once end up steeking again, precisely because it turns out to be far more predictable than it looks from the outside. Your scissors are not the enemy here — they're just finishing a job your needles already set up for them.