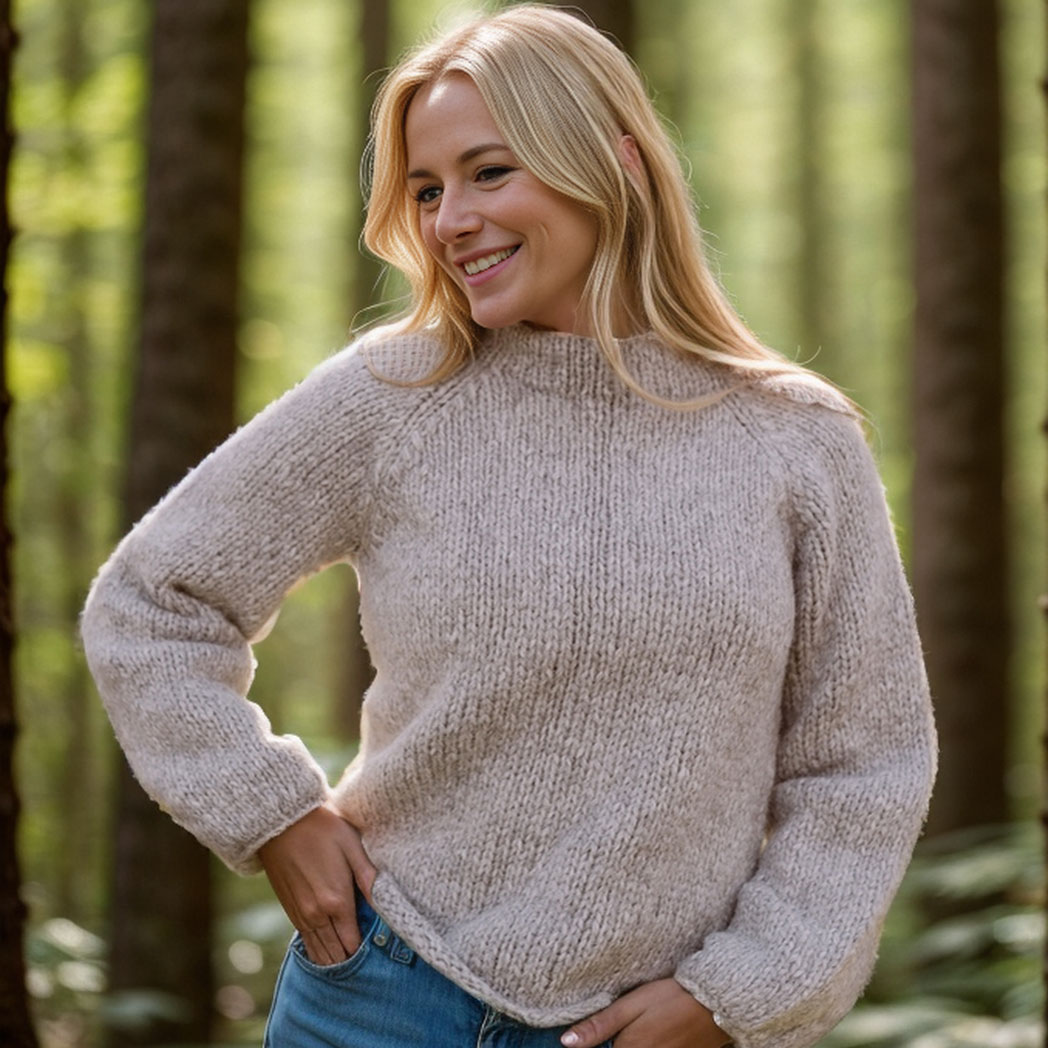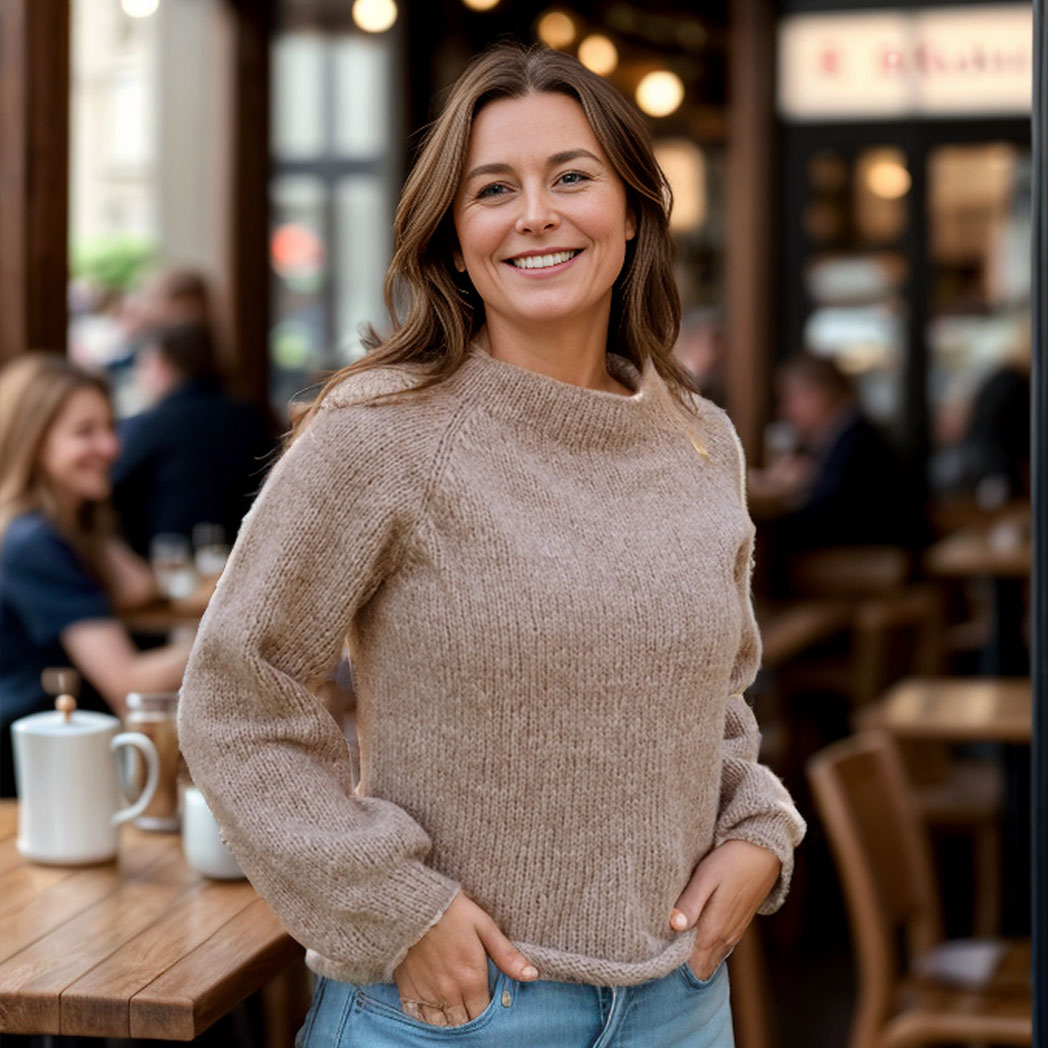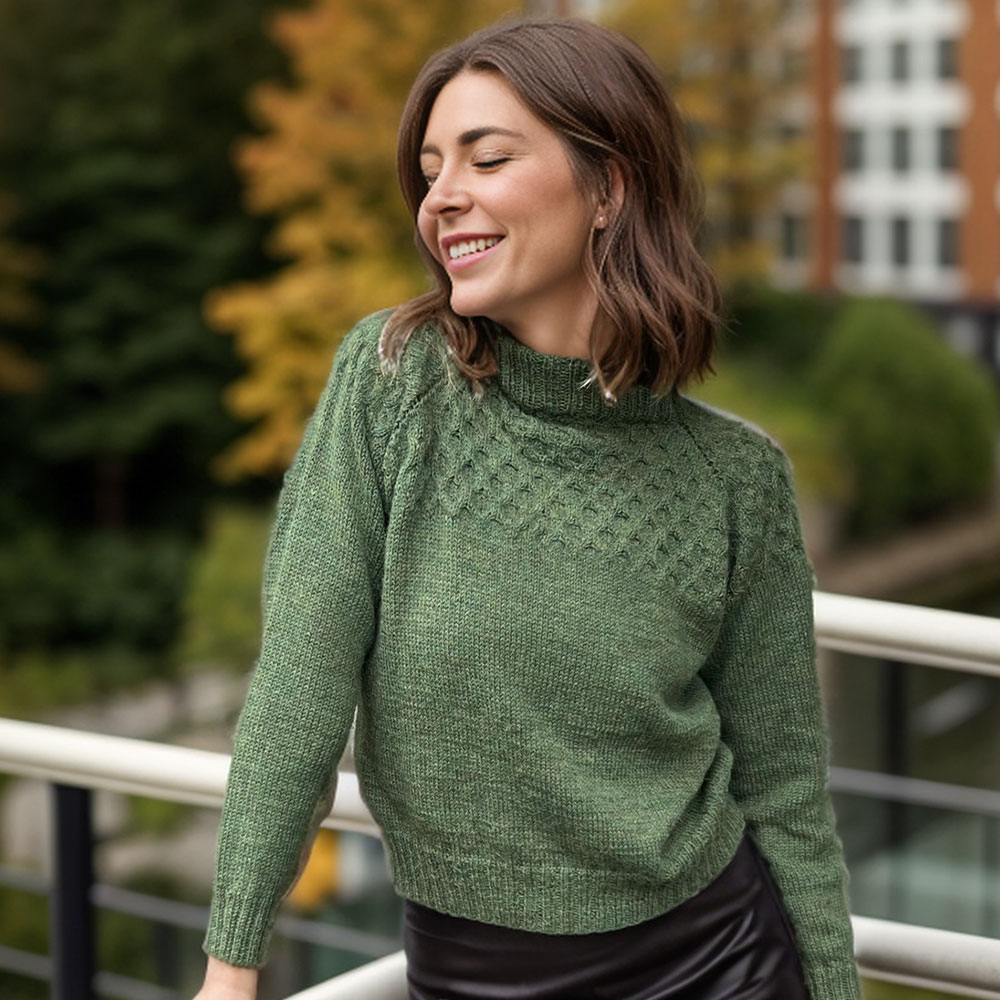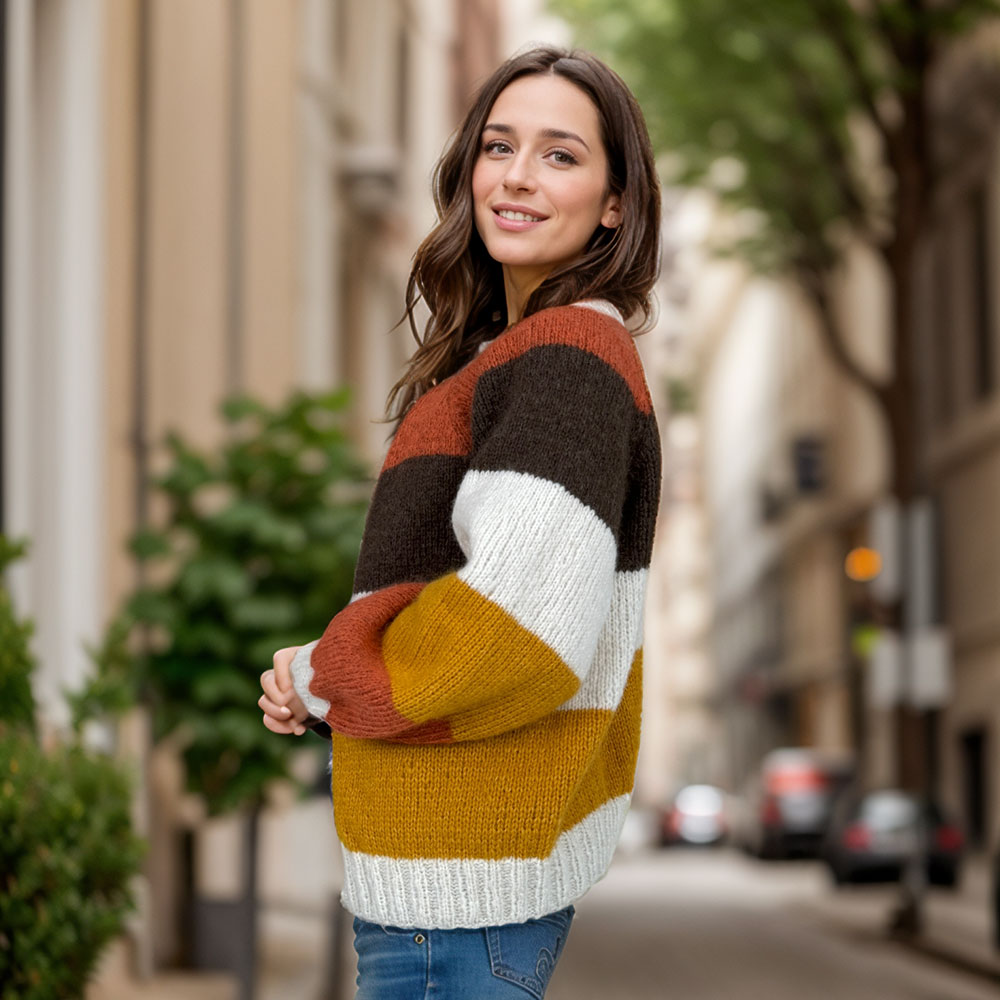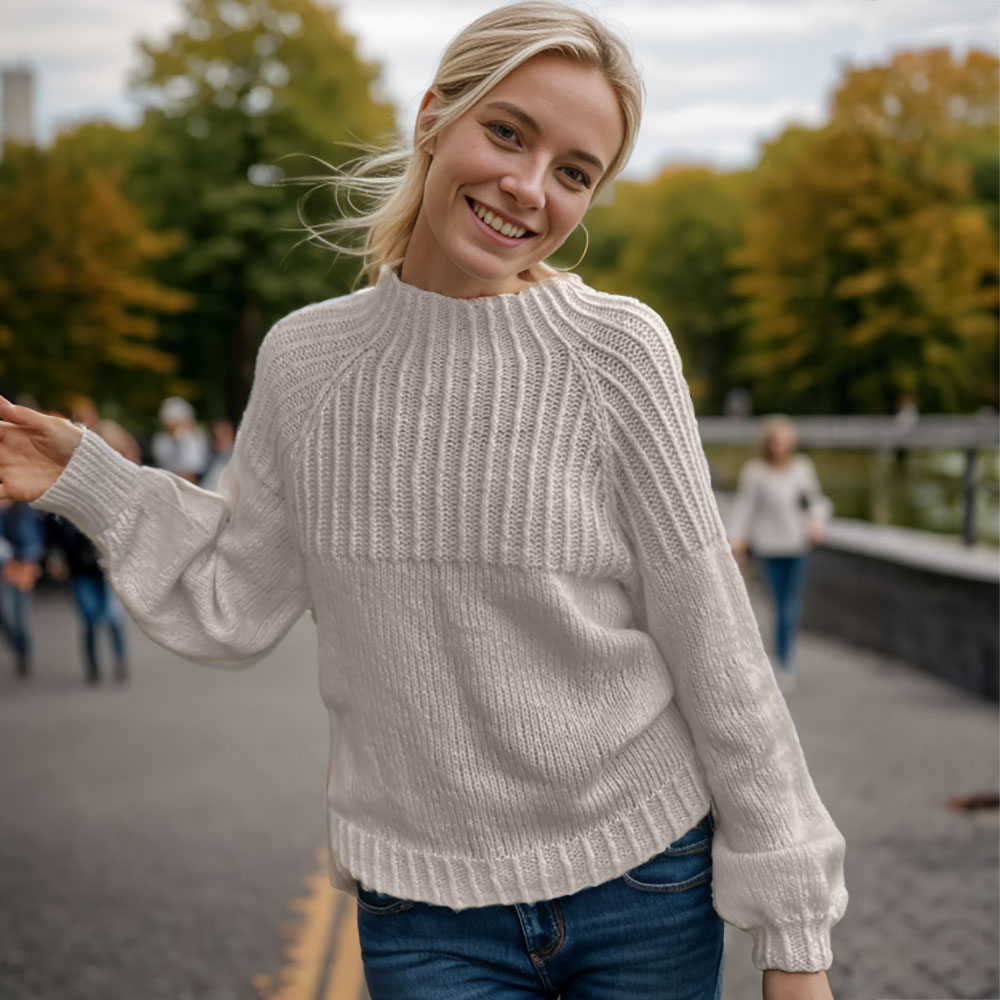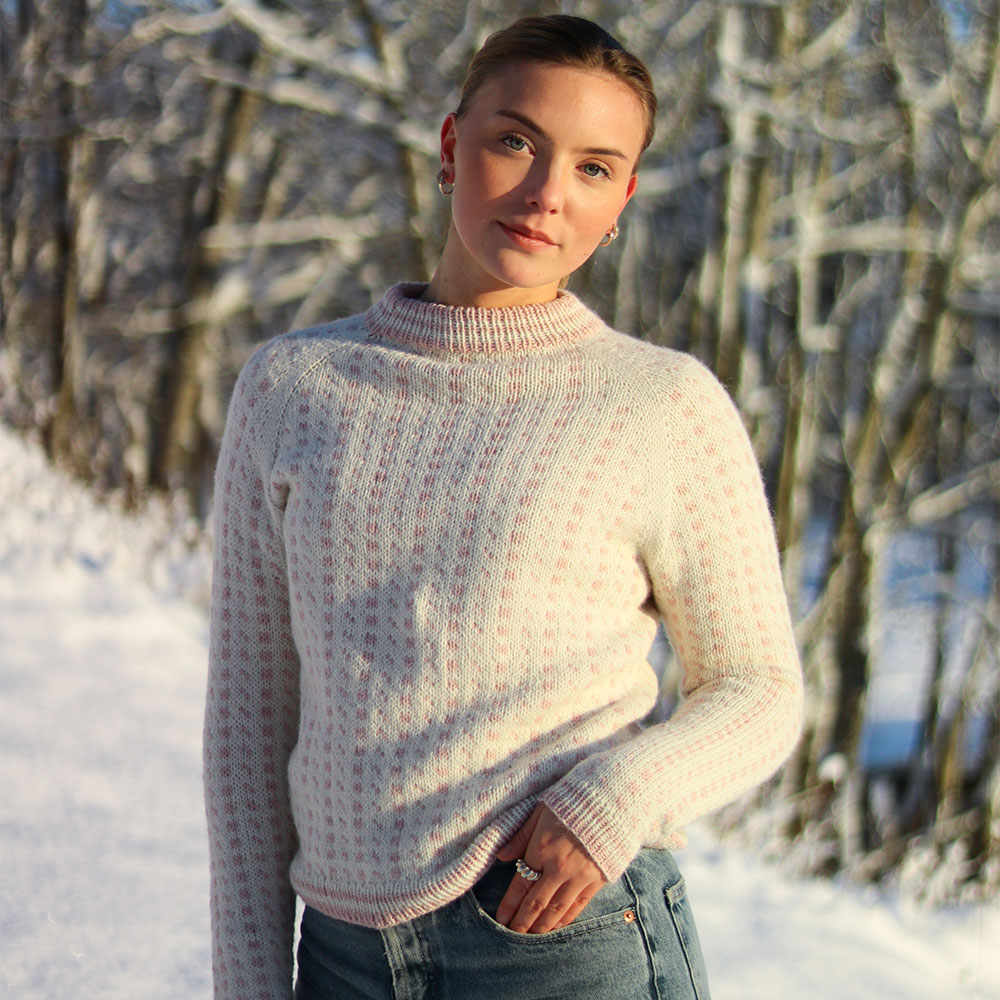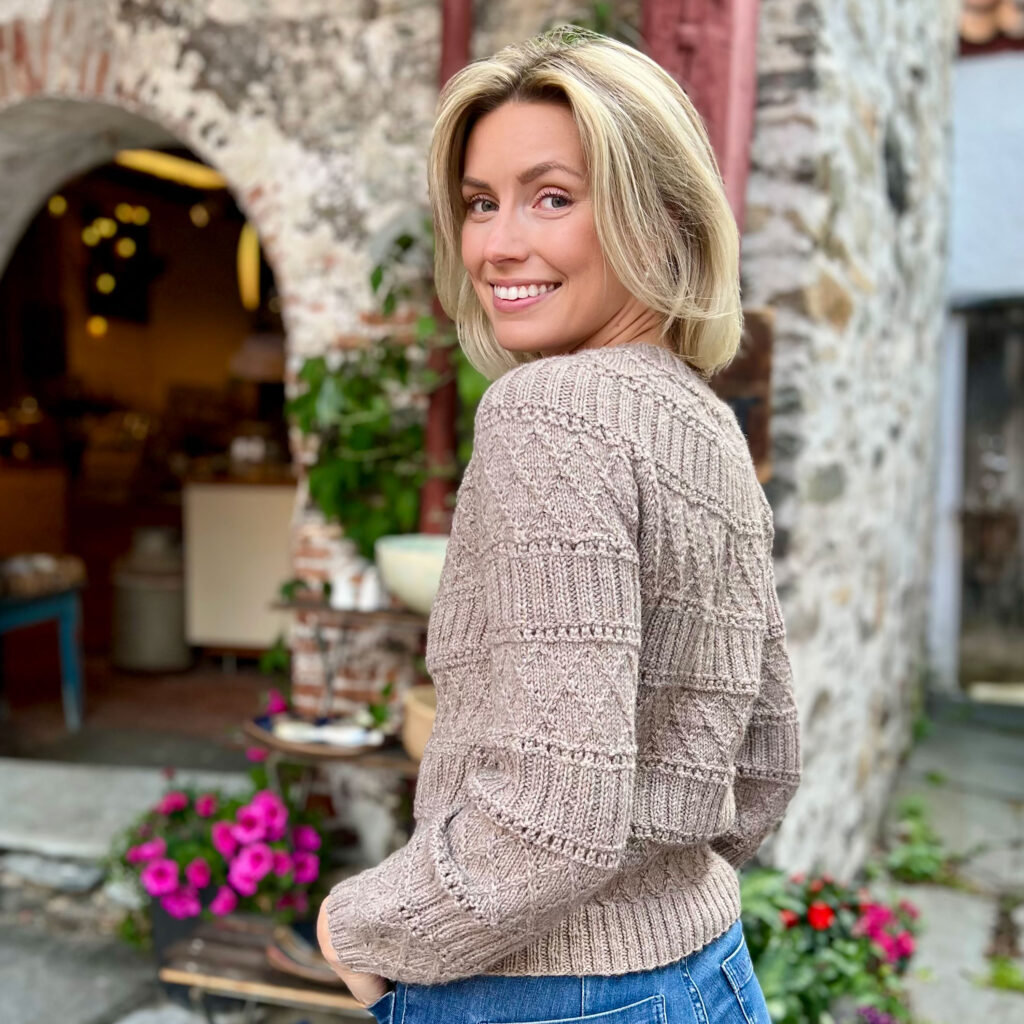
If you've knit more than a couple of sweaters, you've probably noticed that raglan patterns show up everywhere — from cozy beginner pullovers to elegant hand-dyed yarn showcases. That's not an accident. Raglan sweater construction is one of the most approachable ways to shape a garment, and once you understand how it works, you can adapt almost any raglan pattern to fit your body, your yarn, and your comfort level as a knitter.
This guide breaks down exactly what makes a raglan a raglan, how the shaping math works, and how the two major ways of knitting one — top-down and bottom-up — actually differ in practice.
What Makes a Sweater a "Raglan"
Every sweater needs some way to join the sleeves to the body, and there are three common approaches: drop-shoulder, set-in sleeve, and raglan.
- Drop-shoulder sweaters attach a straight sleeve to a straight body edge with no shaping at all, producing a boxy, oversized look.
- Set-in sleeves use a curved sleeve cap sewn into a shaped armhole, mimicking the rounded contour of a natural shoulder. This gives structured, tailored garments a crisp line across the chest, but it requires more precise shaping and usually some seaming.
- Raglan construction sits between the two. Instead of a horizontal shoulder seam, a raglan sweater has four diagonal lines that run from each underarm up to the neckline — one along the front, one along the back, and one down each sleeve. Rather than being set into a separate armhole, the sleeve fabric expands to become part of the shoulder itself.
Those diagonal lines are the raglan's signature feature. Because the sleeve and body are shaped together as one continuous piece, raglans are naturally suited to seamless, in-the-round knitting, and they're forgiving of a wide range of body shapes since there's no fixed shoulder point that has to land in an exact spot.
How Raglan Shaping Actually Works
The magic of a raglan lies in simple, repeatable math. At each of the four raglan lines, you work a pair of increases (if you're building the yoke outward) or decreases (if you're narrowing it). Since there are four lines and two stitches change at each one, every raglan shaping round adds or removes eight stitches total — four along the body edges and four along the sleeve edges.
Those shaping rounds typically happen on a consistent rhythm, most often every other round, though some patterns shape every round for a steeper sleeve cap or space shaping out further for a shallower one. The stitches between each pair of increases can be worked plain, or emphasized with a yarn over, a cable, or a lifted increase to turn the raglan line into a visible design detail rather than something that disappears into the fabric.
As shaping continues, the sleeve stitches and body stitches grow at the same rate, which is exactly why the seam lines stay diagonal rather than curving — everything expands proportionally from the neckline outward (or shrinks proportionally toward it, worked the other direction). One nuance worth knowing: a straight, single-rate raglan can end up making the sleeves disproportionately wide on larger sizes, since sleeve circumference and body circumference don't actually need to grow at the same pace for every body. Many modern patterns address this with "compound" shaping — shifting to a different increase rate partway through the yoke, or adding extra increases to the body only, so the finished proportions look right on the size being knit rather than just following the same formula for everyone.
Once the yoke reaches your desired bust circumference, the underarm stitches are set aside (usually cast onto scrap yarn or a holder) and the body and two sleeves separate to be finished independently — body worked down to the hem, sleeves worked down to the cuff.
Top-Down Raglan: Building From the Neck Out
In a top-down raglan, you begin at the neckline, often after shaping the back neck slightly higher than the front with short rows so the finished neckline doesn't ride up in front. From there, you work in the round, placing increases at the four raglan lines every other round until the yoke reaches the width you need. At that point you divide for the underarms and continue the body and sleeves downward.
Why knitters love it:
- You can try it on as you go. Because the sweater is worked from the top down, you can literally slip it over your head mid-project and check the fit across the shoulders and yoke before committing to the body length or sleeve length.
- It's seamless. No sewing pieces together at the end — everything flows from one continuous piece of knitting.
- Length is easy to customize. Want a cropped body or three-quarter sleeves? Just stop knitting where you like. Running low on yarn? You can knit the body a bit shorter without unraveling anything, since you're working toward the hem rather than away from a fixed cast-on.
Where it gets trickier: because you often don't know your final row-by-row stitch counts until you're fitting as you go, it can be harder to follow a rigid pattern to the letter, and matching a printed schematic exactly takes a little more attention.
Bottom-Up Raglan: Building From the Hem Up
A bottom-up raglan starts the more traditional way: you cast on and knit the body from the hem to the underarm, and knit the two sleeves separately from the cuff to the underarm. All three pieces are then joined onto one needle, and the raglan decreases at the four seam lines work their way up toward the neckline, mirroring the top-down shaping in reverse.
Why some knitters prefer it:
- Better yarn planning. Since you knit the body and sleeves first, you can weigh your remaining yarn before starting the yoke and know with more confidence whether you'll make it to the neckline — genuinely useful with a precious or limited-quantity skein.
- Familiar, methodical structure. Many knitters find it easier to follow written stitch counts precisely when working bottom-up, since patterns can specify exact numbers rather than relying on you to try the sweater on.
- Great for texture and colorwork placement. If your pattern has a stitch motif or stripe sequence that needs to align at the hem, working bottom-up gives you more control over exactly where those elements land relative to the cast-on edge.
Where it gets trickier: you lose the ability to try the sweater on until the yoke is nearly finished, so fit problems in the shoulder area show up later, when there's more to rip back. Adjusting length after the fact is also far less forgiving — shortening a finished bottom-up sweater generally means cutting and re-grafting rather than just knitting fewer rounds.
Which Method Should You Choose?
There's no universally "better" option — it comes down to your project and your priorities.
Choose top-down if you:
- Want to try the sweater on as you knit and adjust fit in real time
- Are knitting for a body shape or fit preference you're not 100% sure about yet
- Like the idea of a fully seamless finished garment
- Want maximum flexibility to shorten or lengthen the body and sleeves
Choose bottom-up if you:
- Are working with a limited or precious skein and want to gauge yarn usage before the yoke
- Are following a pattern with stripes, colorwork, or texture that needs precise placement from the cast-on edge
- Prefer following exact written instructions over fitting by feel
- Don't mind a bit of seaming (or are knitting sleeves flat and seaming them in)
Both methods use the same underlying shaping principle — four diagonal lines, paired increases or decreases, worked at a steady rhythm — so skills you build with one will transfer directly to the other. If you're new to raglans, a top-down pullover in a plain worsted-weight yarn is a genuinely friendly place to start: the built-in try-on checkpoints make it hard to go too far wrong, and you'll come away understanding raglan shaping inside and out.