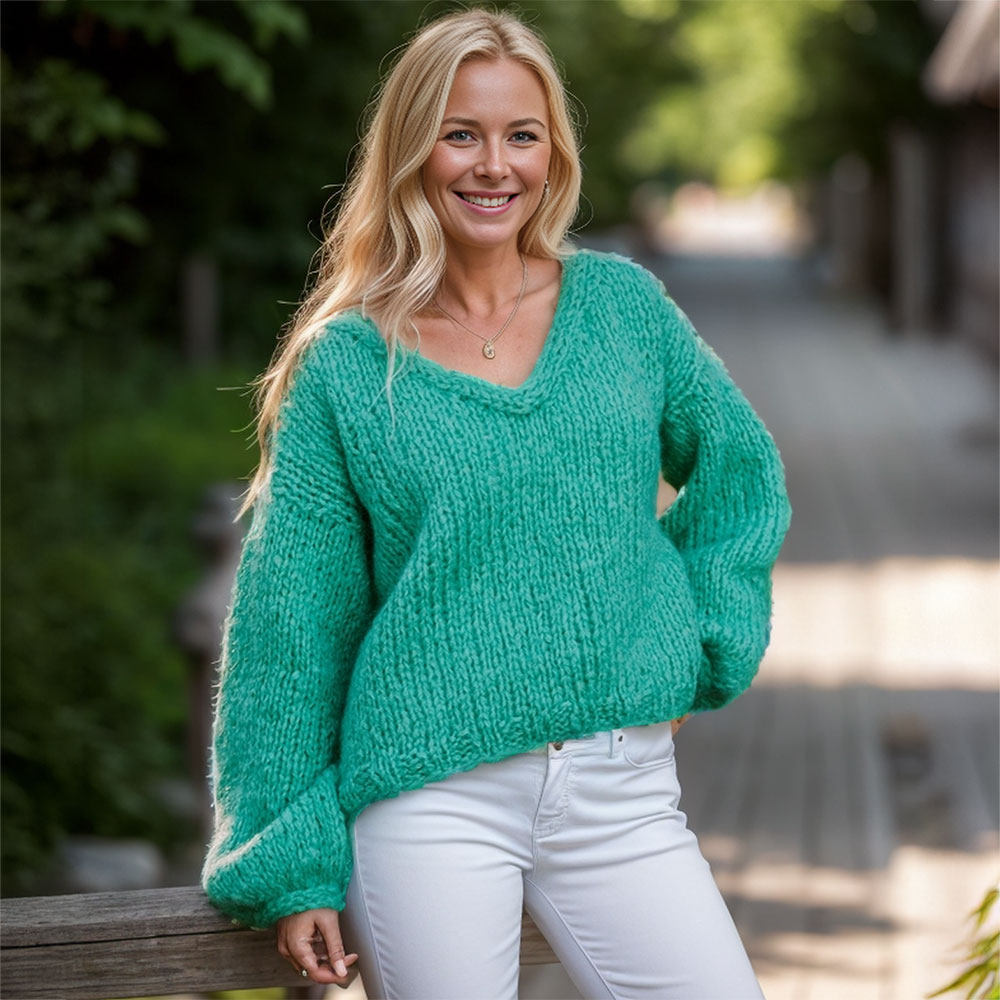
A well-shaped V-neck instantly signals a handmade garment was made with care. It's also a technique that trips up even experienced knitters: sides that don't quite match, a soft or gappy point at the base of the V, or a neckband that ripples instead of lying flat. None of it is bad luck — once you understand what each step is actually doing, you can knit the whole thing with confidence and catch problems the moment they appear.
This guide covers the full process — splitting for the neckline, placing and pacing your decreases, and picking up a clean band — with specific fixes for the two problems that come up most: a gappy V point and uneven sides.
How V-neck shaping actually works
Most V-necks worked from the bottom up start the same way: knit the body as one piece up to where the neckline needs to open, then split the front stitches into a left front and a right front and work each side on its own to the shoulder. Each side loses stitches gradually along its neck edge, so both fronts narrow evenly into the V by the time you reach the shoulders.
The shaping itself is simple: one decrease at each neck edge, spaced at a regular interval, repeated until you've removed the stitches the pattern calls for. What determines whether the V looks crisp is how you divide the center stitches, which decrease you use and where you place it, and how consistently you repeat the rate on both sides.
Dividing the stitches at the center
At the point where shaping begins, you need to decide what happens to the stitch or stitches sitting exactly at the center front.
- Even stitch count: place the center 2 stitches on a holder or waste yarn — don't bind them off, which creates a small, stiff ridge that's hard to hide later. Each side then starts its decreases from the stitch next to that gap.
- Odd stitch count: hold just the single center stitch, which keeps the point as narrow and precise as possible.
Holding these stitches on waste yarn keeps that section elastic and easy to integrate when you pick up the neckband later — a bound-off edge here is one of the most common hidden causes of a gappy point.
Shaping each side: placement and rate
Once you're working the two fronts separately, each one needs a decrease at its neck edge on a regular schedule until you reach your target stitch count at the shoulder.
Placement: work the decrease one or two stitches in from the neck edge, not right at the edge. A decrease in the very last stitch pulls the edge tight and distorts it, making for a messy pickup line later. Leaving a stitch or two of plain knitting between the edge and the decrease gives you a stable, even selvedge to pick up into.
Direction: use mirrored decreases so both slants lean toward the center, echoing the V shape — ssk (or skp) on the left front's neck edge, k2tog on the right front's. Mirroring is what makes the two sides read as a matched pair rather than two decreases that happen to be in the same place.
Choosing your decrease rate
The rate — how many rows apart you space each decrease — controls the angle of the V:
- Every right-side row produces a steep, narrow V that opens quickly.
- Every other row (once every 4 rows) gives a gentler, more open angle — the most common choice for a classic pullover or cardigan.
- Every 3rd or 4th row creates a shallow, wide neckline.
Calculate your rate before you start: divide the rows in your neck shaping by the decreases you need, and round to the nearest even number so it stays consistent throughout. An ad hoc rate is the single biggest cause of a lopsided V.
Fixing uneven sides
If your two fronts end up looking different — one steeper, one shallower, or decreases landing on different row types — it's almost always one of these:
- The two fronts started on different row types. If the right front's first decrease lands on a right-side row, the left front's needs to match, not "whenever it comes up next." Note which row each side starts on and check both against it periodically.
- Row counting drifted. It's easy to lose count alternating between two pieces. Use a row counter for each side, or place a marker on every shaping row, so both sides visibly match.
- Different decreases were substituted partway through. Once you commit to ssk/k2tog as your mirrored pair, don't swap halfway up — even visually similar decreases can sit differently and become noticeable side by side.
If you catch a mismatch a few rows back, it's usually faster to tink (unknit) to the error and reshape correctly than to compensate with an extra decrease later — an added "fix" decrease almost always shows.
Picking up stitches for the V-neck band
With both shoulders joined, pick up stitches around the neckline for the band: from one shoulder seam, down one side of the V, across the held center stitches, up the other side, and across the back neck.
A few habits make this step much smoother:
- Pick up at a consistent ratio along the diagonal edges — commonly about 3 stitches for every 4 rows — rather than one per row, which stretches the edge, or too few, which puckers it.
- Prioritize even spacing over hitting an exact number. A pattern's stitch count is a target; it's better to space stitches evenly and adjust by a stitch or two on the first band round than to force an uneven pickup to match a number exactly.
- If you land with too many or too few, correct it invisibly on the first band round — decrease away the extras, or work a make-one increase or two — rather than adjusting the pickup itself.
The center-point decrease that keeps the V sharp
The base of the V is the part everyone notices, so it deserves its own step. As you knit the band, work a decrease directly at the center point on every round (or every other round, for a wider band):
- Slip the two stitches just before the center stitch together, knitwise.
- Knit the center stitch.
- Pass the two slipped stitches over the stitch you just knit.
This double decrease removes stitches from both sides of the point at once and pulls the fabric into a crisp, mitered angle instead of a rounded or gappy dip. Plan a ribbed band so the center stitch always lands as a knit — this repeated decrease is what gives a V-neck its neat, tailored point.
Fixing a gap at the V point
If you finish the band and there's still a visible hole or loose loop right at the bottom of the V, check for these causes:
- The held stitches were bound off instead of left live. A bind-off at the center adds bulk and a slight gap a simple pickup can't fully close. Mid-project, this one needs a redo; going forward, always hold center stitches rather than binding them off.
- No decrease was worked at the center point during the band. A band picked up straight across the point without the double decrease above sits flatter and looser exactly where it needs to cinch in most. Add the mitered decrease next time and the difference is immediate.
- Stitches were picked up too loosely near the point. Snug up the pickup stitches immediately adjacent to the center with firm, even tension.
- The point wasn't blocked into shape. Even a well-constructed V benefits from blocking: pin the point to a slightly sharper angle than it wants to relax into, and let it dry fully before unpinning. This alone can close a slightly soft-looking point without any reknitting.
Bringing it all together
A clean V-neck comes down to a handful of decisions made early and applied consistently: hold the center stitches instead of binding them off, place decreases a stitch or two in from the edge with mirrored slants, calculate a steady rate before you start shaping, and finish with a center-point decrease when you knit the band. None of these steps is difficult alone — the skill is doing them the same way on both sides, row after row. Once you've knit one V-neck this way, checking your work becomes second nature, and every one after goes faster and looks sharper.